Posted on

Technoflux vs. Thermo Gel

Just for the record, neither of these have worked for me.

Both tend to clump together and fall off – defeating the object of the exercise.  The paste/gel seems to operate like a heat sink – drawing the heat away from the piece.  Folks who are experienced with soldering understand that you have to raise the temperature of the piece itself to get the solder to flow – directing the heat at the solder itself is not very effective.

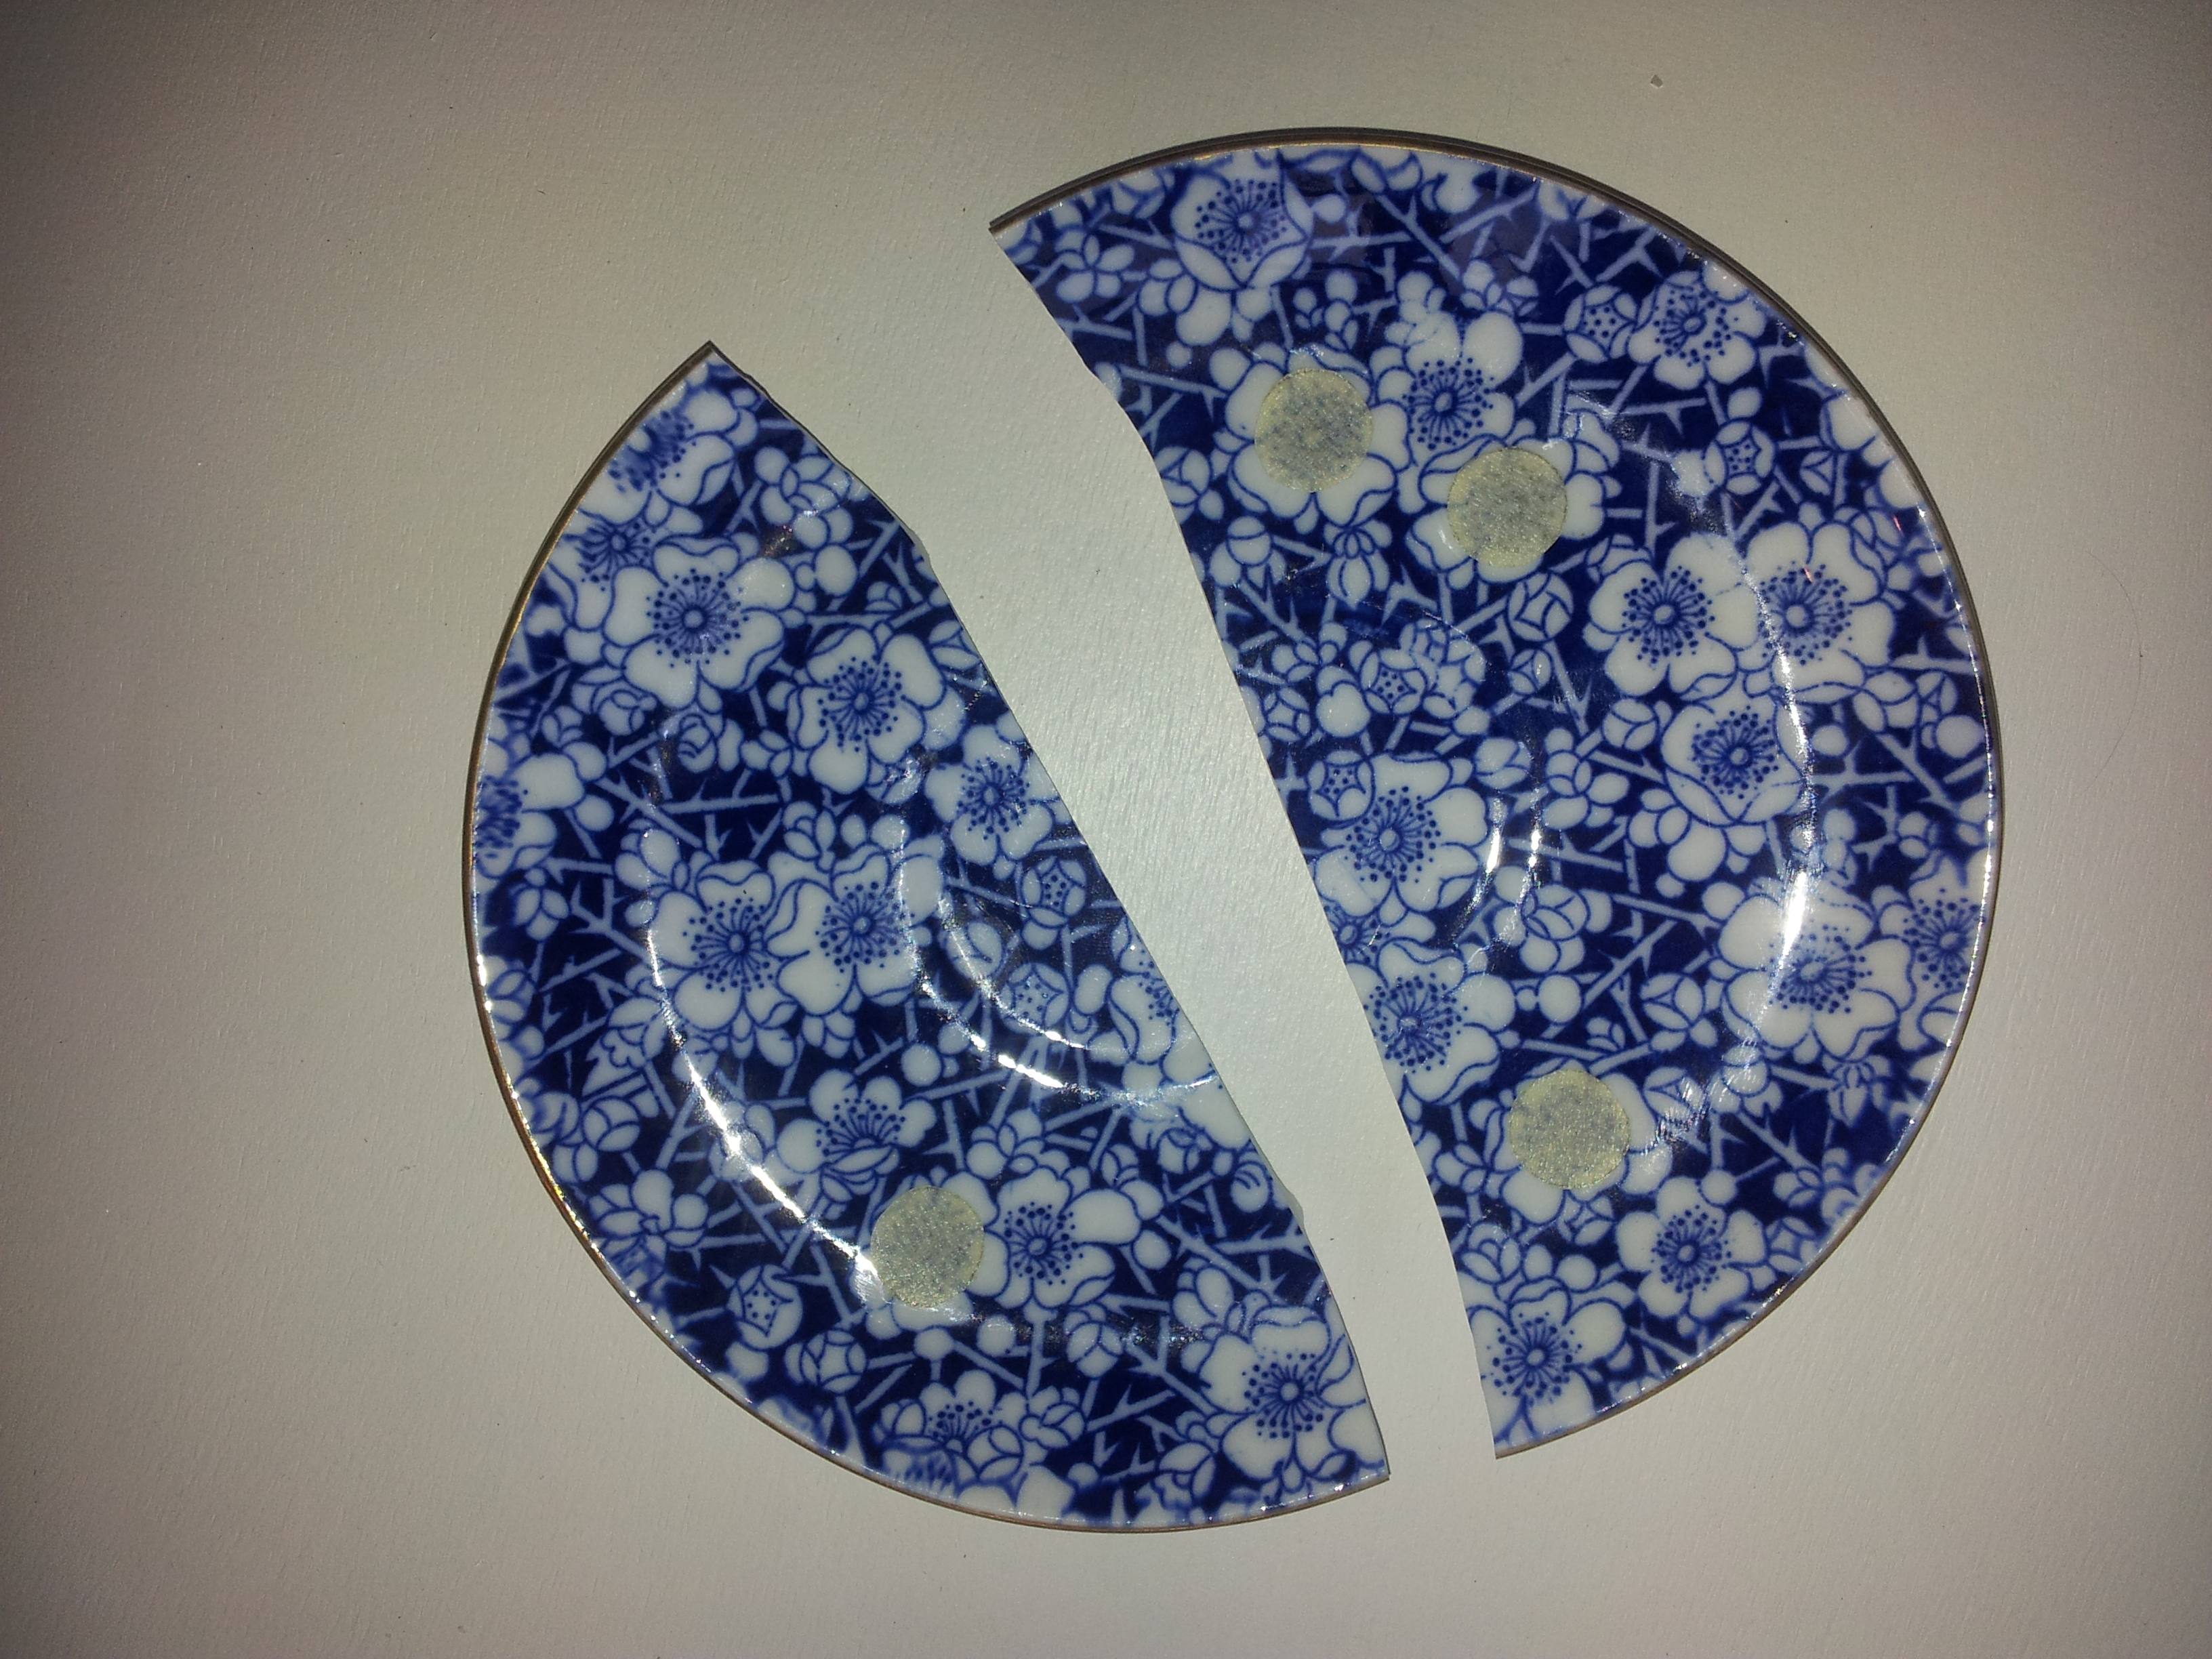
Once my broken china jewellery piece has been assembled, it’s really not possible to solder again because 1) the glue I add to provide extra security burns off with an almighty stink, the residue turning black and 2) the china itself is inclined to crack and discolour.  Technoflux and Thermo Gel are both intended to provide protection from the heat and the idea is to apply it liberally to anywhere that you are not soldering.

In this instance, having completed my pendant, I spotted that one of the jump rings had not closed properly.  I had used Technoflux before – with disastrous results – so was tempted to use a tiny dot of electronics solder. Yet somehow, and despite the fact that not everyone bothers to solder jump rings closed, using even a tiny amount of electronics solder on a fine jewellery piece just seems wrong.

Thermo Gel disaster
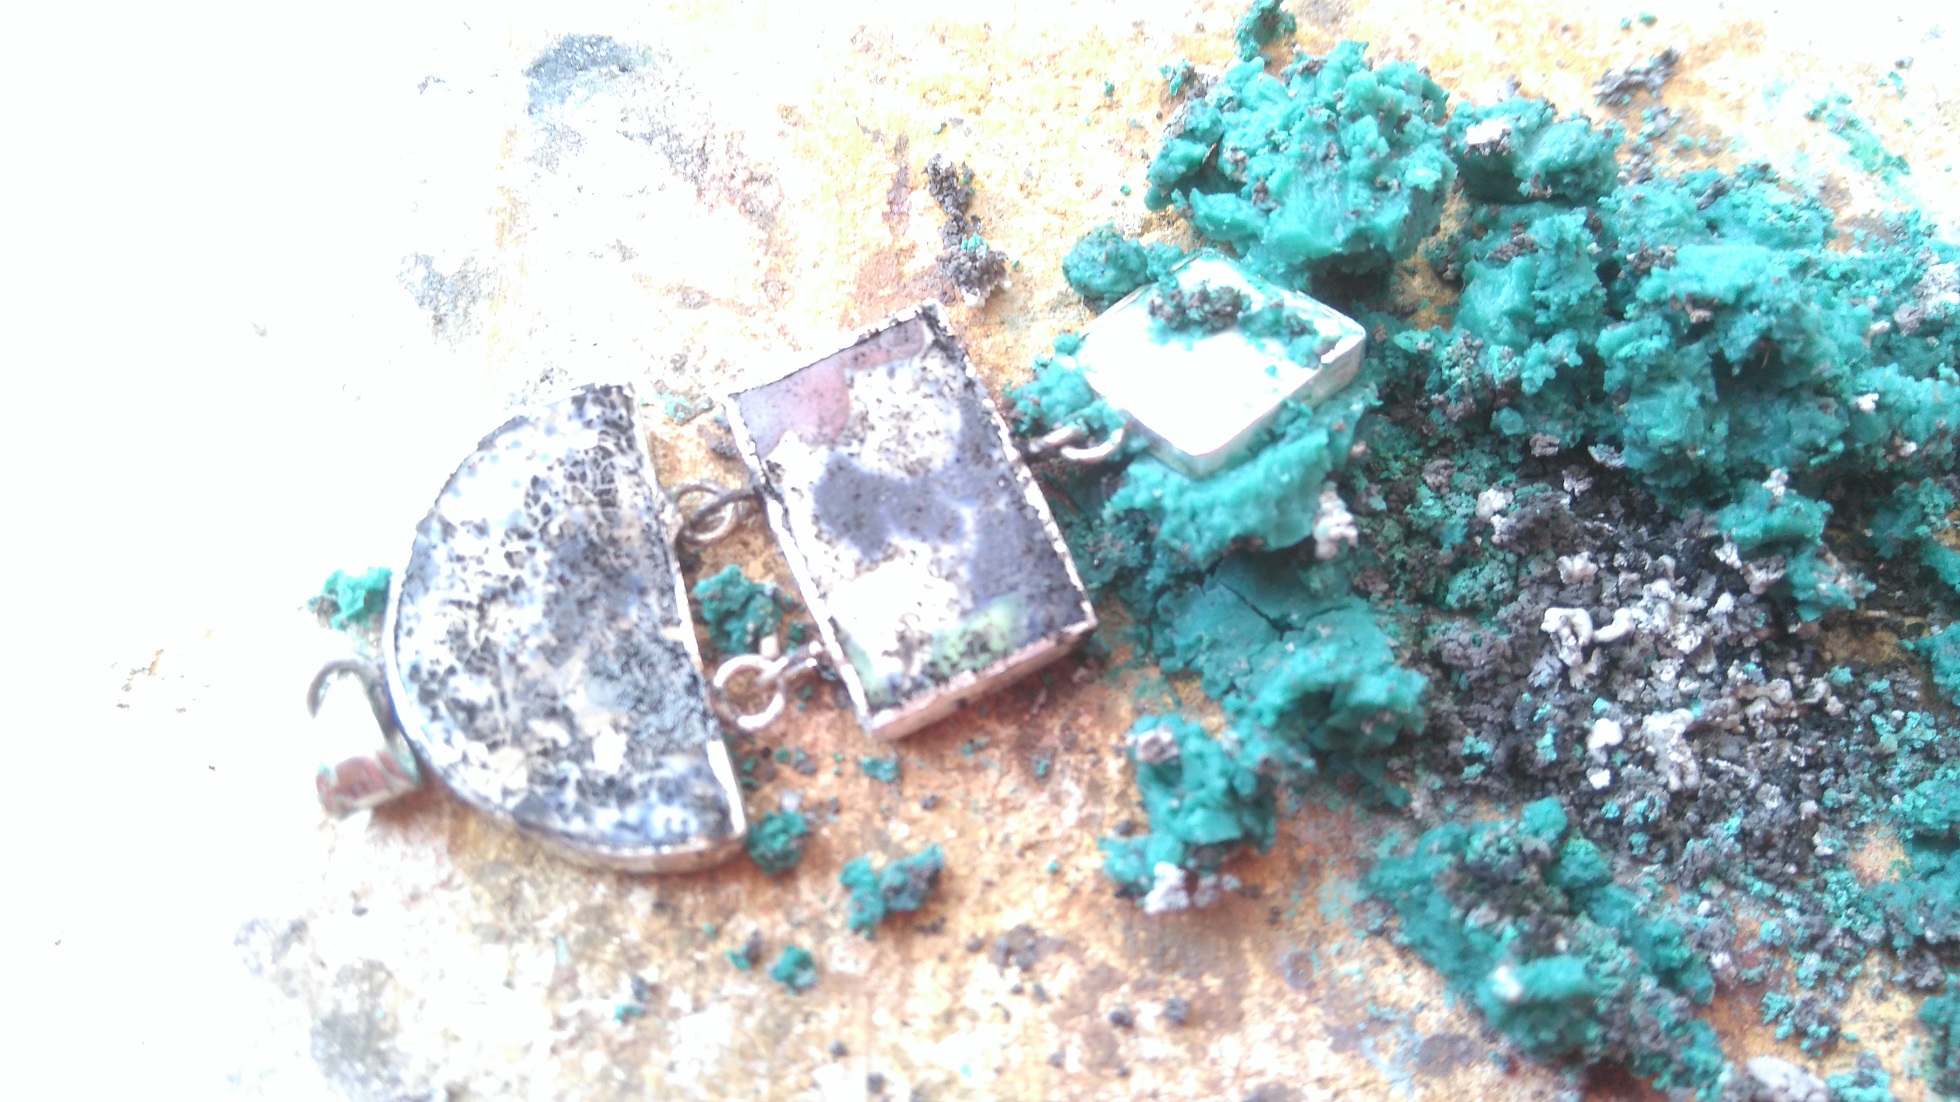
So I bought a pot of Thermo Gel.  I used about 1/4 of the pot (not going to be caught out by being too mean with it!) and layered it underneath the piece and plastered it thickly everywhere, leaving a tiny area with the offending jump ring clear.   As I worked, the gel dried, crumbled and fell away, so I stopped and reaplied the barrier as necessary.  Not only was the solder disinclined to melt (not hot enough) but the glue burnt off and the china was ruined.

I know that other jewellers use these products successfully, so there must be some reason why it just won’t work for me.  Perhaps it can’t be used over a large area…

Posted on

Suitcase Display

I bought this lovely old suitcase on eBay, padded it with wadding and lined it with hessian.  I’ve used little black pins to attach my stock and the result is instant storage, transport and display for a craft fair.  I was short of time on this occasion – I’m sure I can improve on the display – but I was really pleased with the convenience!

The embroidered white cotton cushion – another eBay find – was originally intended for brooches but, since I haven’t built up any stock of these, I just pinned on some of my earrings.

Posted on

Beaded Necklace for Mum

I don’t usually do bead work – but what can you do when your Mum hands you a string of beads and asks you to make it into a necklace…?

So that’s what I’ve been doing today.  I’m not sure what the beads are made from – they’re a bit like moss agate – but they are nice and chunky.  I tried using quartz beads between them but found that silver really set them off well.  I used Tuff Cord to string them – I was lucky that the green was an almost exact match.

Even so – it didn’t quite go to plan.  Having completed stringing the beads I decided to play extra safe and solder all the joins for the clasp and jump rings.  I hadn’t counted on that melting the cord.  (Duh… obvious!)  So the second time around I completed all the soldering before stringing the beads.

Anyway, success!

Beaded Necklace


Posted on

Breaking into a Coalport Saucer…

It’s always a bit unnerving making an initial break into a piece of china.  I admit I feel some guilt – especially when the item is valuable as it is.  This beautiful Coalport Flow Blue Chintz saucer is worth £15… and that’s without the teacup.  To be fair, if it weren’t for the fact that my Mum gave me this piece for the purpose of making some different jewellery I’m not sure I could have done it!

That scary first moment...
That scary first moment…

In this photo you can see that I have marked a few of the flower centres for earrings and fortunately the initial break seemed to go to plan.

I use tile nippers a bit like these: Silverline 786548 Tile Nippers – 210 mm and while they are surprisingly accurate when trimming a piece to size I find that the first cut is always rather unpredictable.

On the downside it’s frustrating when the pattern pieces I have selected are exactly where the stand of the saucer is located – this ridge has to be removed and that means a lot of extra time grinding.

Note the thickened area that has to be ground down.


Posted on

Why House of Cool?

It’s a reasonable question.  Why not Claire’s Awesome Jewellery?  Well, the name goes back many years to when I had a gift and gadget website – I just decided to stick with it.  People seem to like it – it’s memorable.  (Or at least I hope it is!)

Admittedly it doesn’t say much about what I do but maybe this is no bad thing.  It means that I’m not restricted to just one kind of jewellery and although I have started by launching the broken china range there is a lot more on the way and all of it quite different.  Not restricting myself means that the website could also showcase the work of other jewellers – or even other crafts.

Who knows where the adventure will lead…